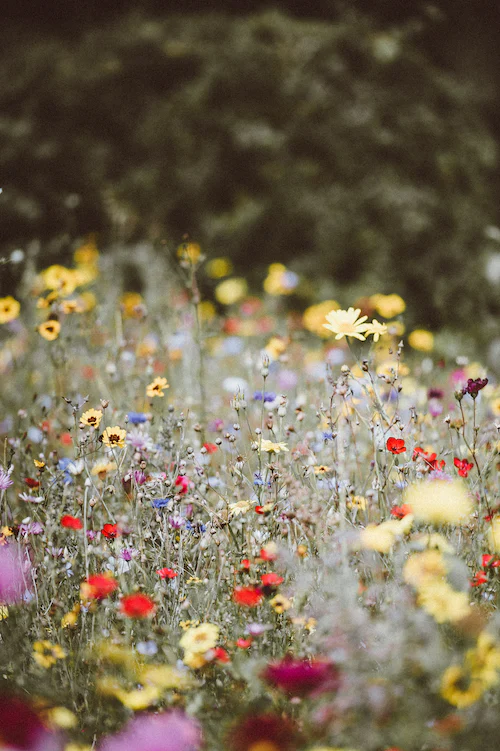
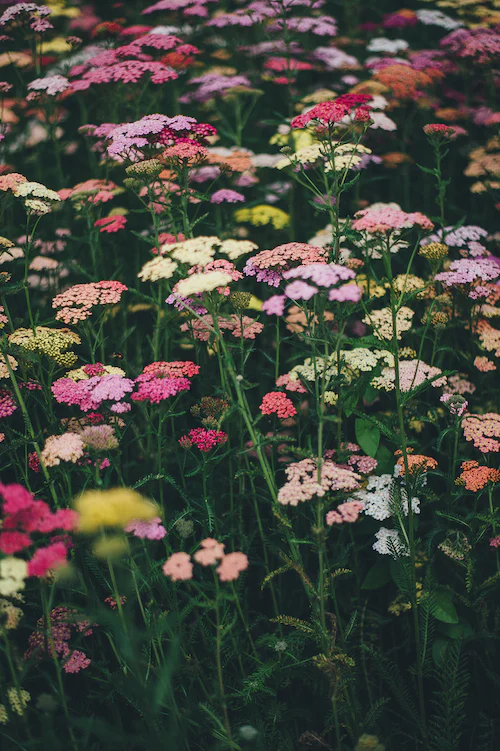
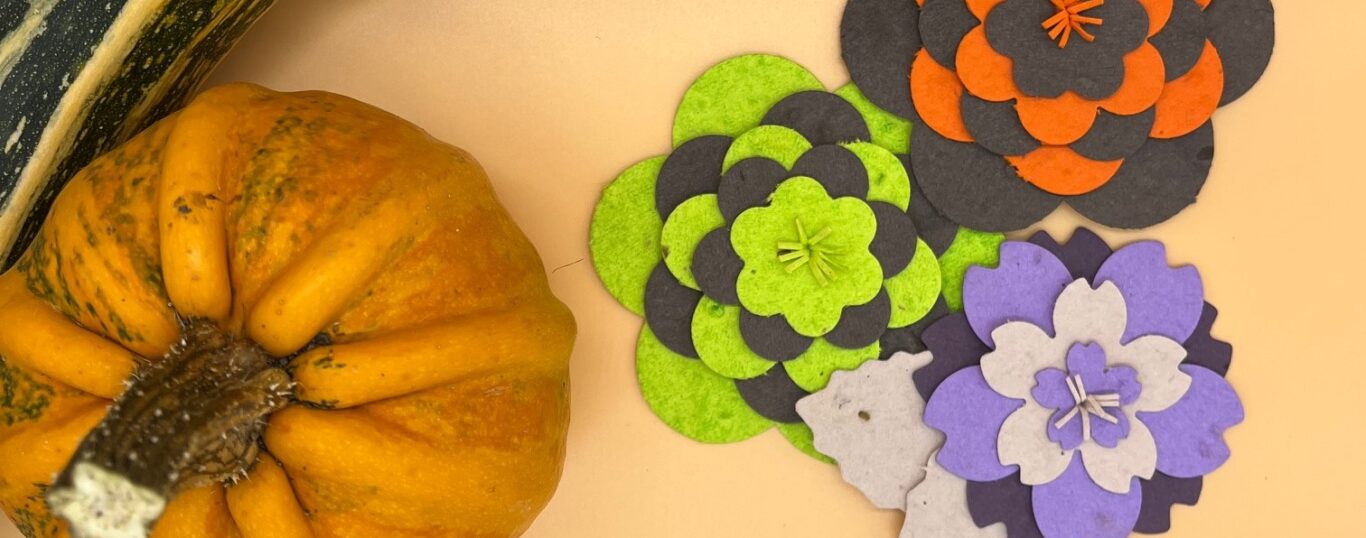
Thank you so much for purchasing our That’s Wrapped Seed Paper Gift Wrap Products! The seed paper we use for our products is made with post-consumer and post-industrial paper waste which means no trees are harmed for this paper! When the paper is planted in soil, the embedded seeds grow and the paper composts. All of our seed paper products grow into a hardy and diverse mix of annual and perennial wildflowers that include:
Five Spot | Candytuft | Baby Blue Eyes | Siberian Wallflower | Scarlet Flax | Zinnia | Sweet William Pinks | Corn Poppy | Spurred Snapdragon | Catchfly | English Daisy | Daisy | Black-Eyed Susan
To see your paper bloom, follow these easy steps below.
STEP #1
Seed paper can be planted indoors anytime or outdoors, depending on your climate or the season. The seed paper will need warmth and water to grow. Grab a pot that will fit your seed paper shape or bow and fill it with soil about two-thirds full.
STEP #2
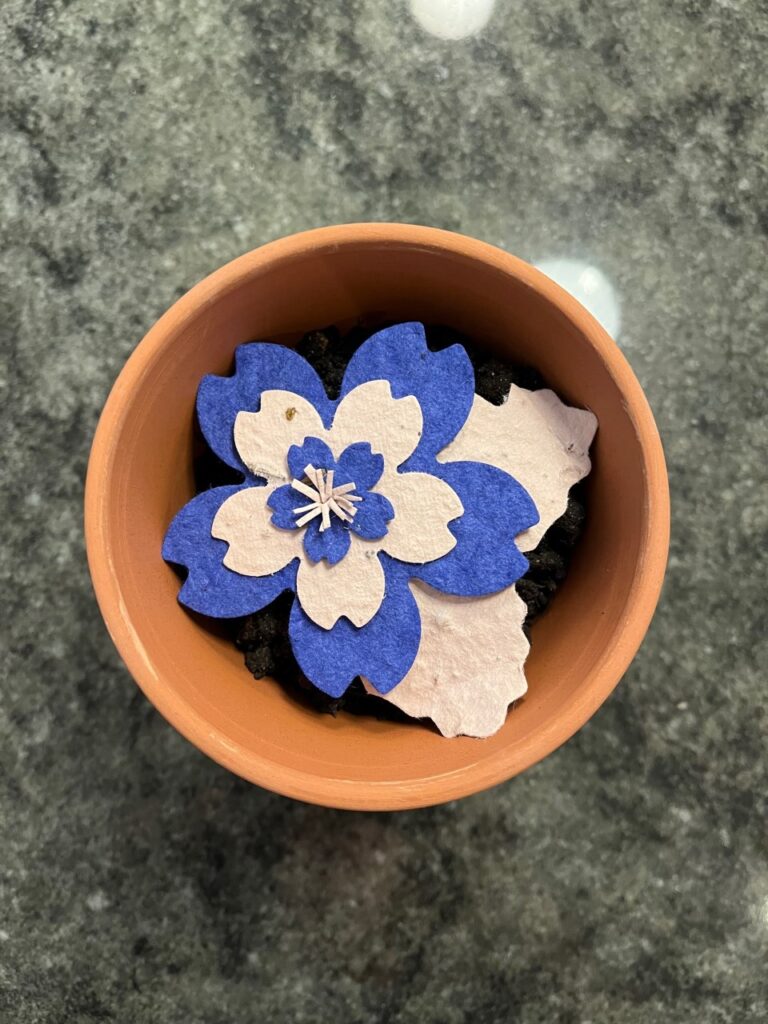
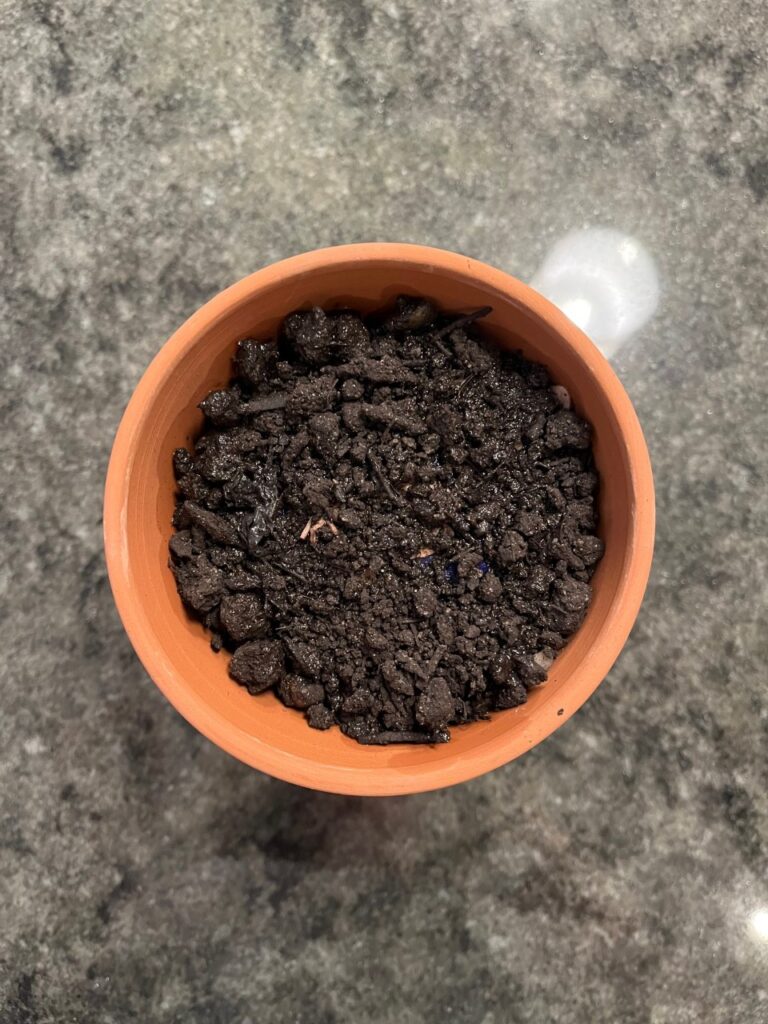
Place your seed paper on top of the soil in the pot and cover with an additional 1/8th inch layer of soil. Really, you are just sprinkling some soil on top to keep the seed paper in place and the moisture locked in. It’s totally okay if you can still see some of the paper through the soil.
STEP #3
After covering the seed paper with soil, give it water – enough to ensure the seed paper is soaked through. For at least 10 days, keep the soil/seed paper very moist. This is necessary for germination. If it dries out, your seed paper may not bloom.
STEP #4
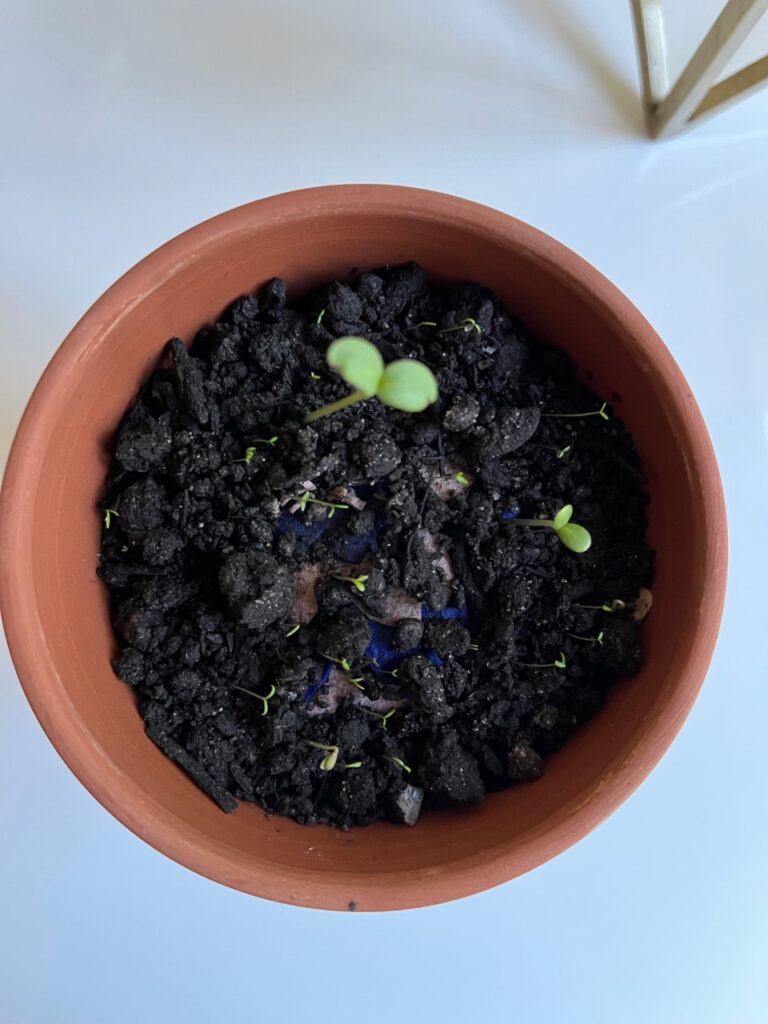
After sprouts appear, continue to keep soil moist for 4-6 weeks. Once the sprouts are hearty enough, you can add a little more soil and continue to water as needed. Once spring arrives, you can transfer your wildflowers to a more permanent outdoor location where you can be reminded year after year of the thoughtful gift you received from a friend or loved one.
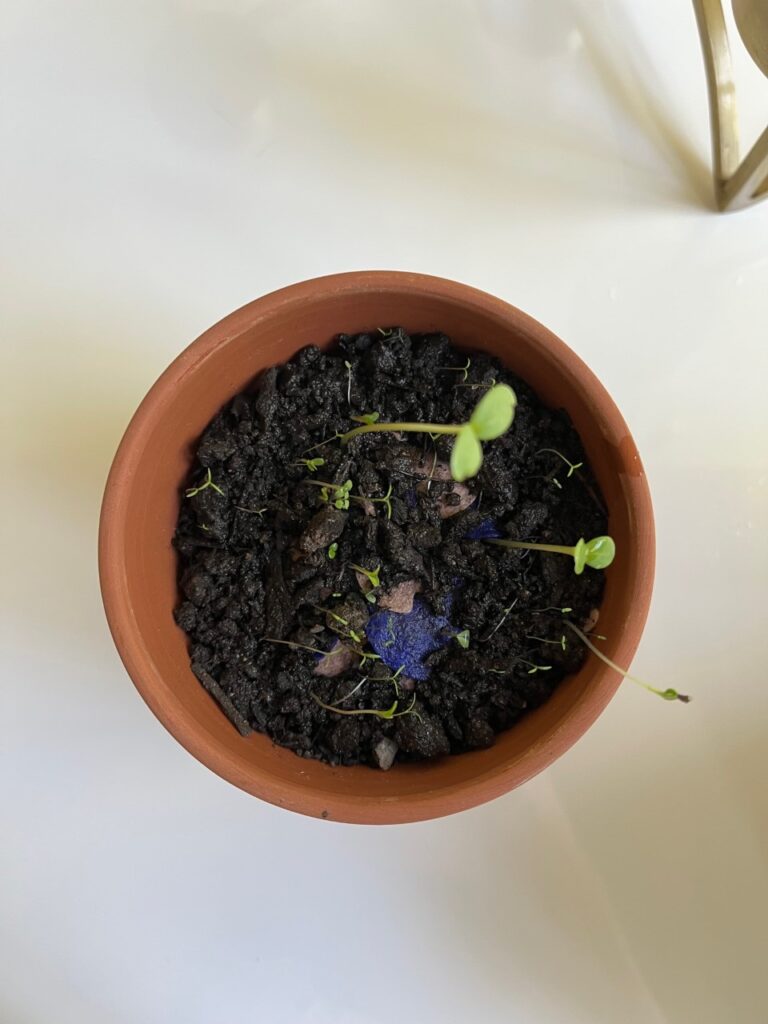
We would love to see your seed paper blooms! Please share them with us via email (corinne@thatswrappedblog.com) or via Instagram (@thatswrapped).
